As the push continues to make electronic devices smaller every day, so naturally do the components used to make them. For people interested in homebrewing electronics, (especially those with less than perfect eye sight) the concept of working with these tiny SMDs (Surface Mount Devices) becomes daunting (TIP: Look for size 0603 or larger devices to work with). After some internet research, I realized that I was not the only one looking for a cheap and relatively easy way to continue to be able to homebrew, while using SMD's. One solution? A used toaster oven and a digital thermometer. I don't take credit for this repurposing of materials, this is just my take on it. (Click on any image for a larger version)
|
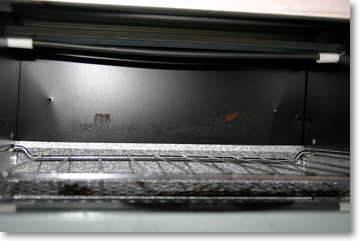
| First, the lowly toaster oven, found at a garage sale for $5. A quick check showed the interior was relatively clean and all the controls worked fine |
 |
|
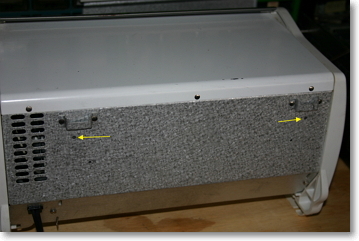
| Two small holes, just large enough to fit the digital thermometer's probes, are drilled in the back through to the oven's interior being careful not to hit any critical parts. |
|
|
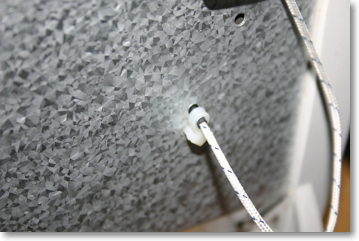
| A view from the inside of the oven showing the holes drilled through. Use as sharp a drill bit as possible, as the interior metal is not very strong and will bend easily (as you can see in the photo) |
|
|
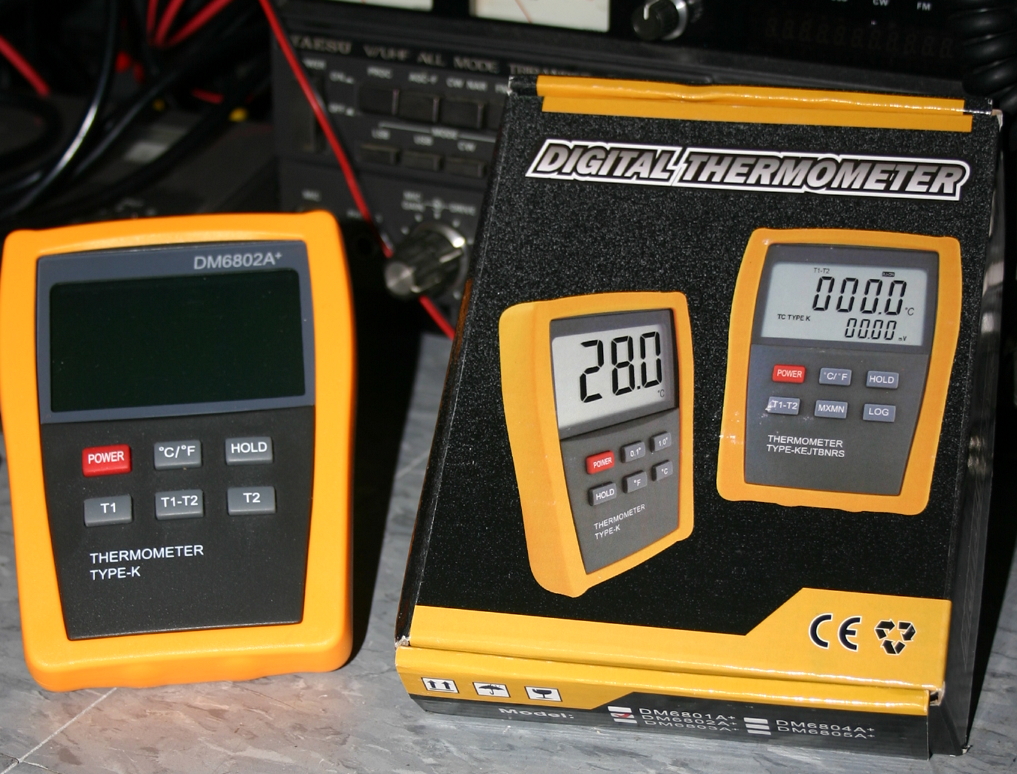
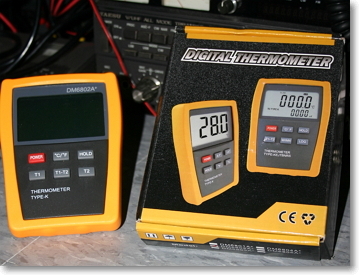
I found this double probe digital thermometer online for about $40. Its features include;
- Temperature Range: -58 to 1999°F (-50 to 1300°C), Resolution 1 °F or °C
- 2 k-type Thermocouple Inputs, Measures in °F Fahrenheit or °C Celsius
- Data Hold, Show T1 or T2 or Differential Temperature T1-T2
- Miniature K-type Thermocouple Connector
- Large LCD Display
- Automatic Power Off
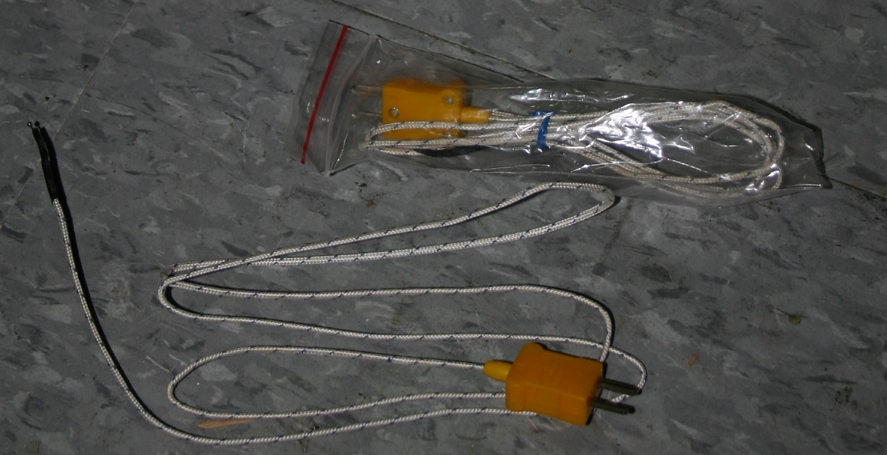
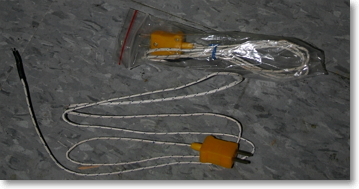
- 9V Battery and 2 k-type thermocouple wire probes included (shown on right)
|
|
|
|
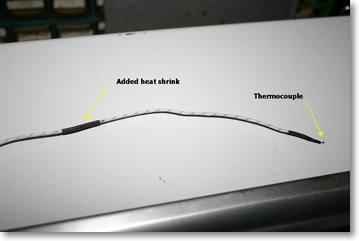
| Insert a probe far enough through the back of the oven for the thermocouple on the tip to reach the approximate center of the oven. Mark the spot on the probe's wire where it comes in contact with metal as it goes through and wrap this area in heatshrink or electricians tape for added protection. |
|
|
| The probe can then be reinserted and secured with a zip tie to keep it from being inserted too far. |
|
|
| In this image, the probes can be seen protruding into the oven's interior. Every effort should be made to ensure they do not come in contact with anything during use |

|
|
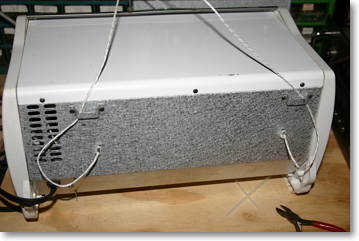
| Another view of the rear, showing both probes inserted and secured, ready to go |
|
|
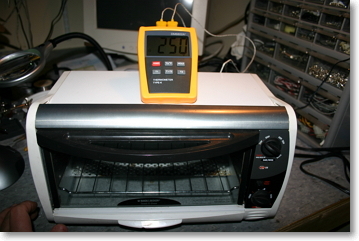
| First test of the digital thermometer and the relative accuracy of the oven's temperature dial. Numerous tests will need to be conducted to determine several temperature variations, including rise and fall gradient (how far the temperature goes past a setting when adjusted before coming back down to the correct level), increase ramp time (time it takes oven to get from one fixed temperature to a higher one) and decrease ramp time, for your particular oven. This data is critical for calibrating the temperature dial to ensure proper flow of the SMD solder, based on its reflow profile. |
|
|
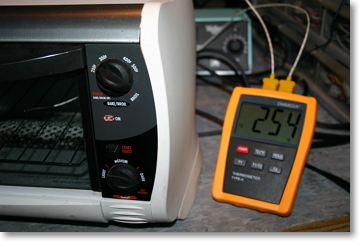
| Close up of the meter, showing the oven's temp dial is not far off at this setting. Optimum temperature stage settings (initial warm, flow, and cool) will need to be charted to allow consistent, reliable repetition. The oven's dial can be marked to match these settings. |
|
|
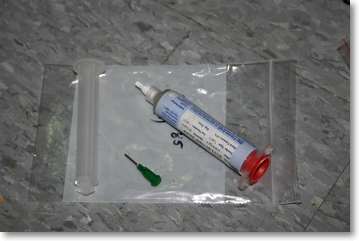
| Close up of an SMD solder syringe. These are available for purchase from a number of online distributors. The tiny spheres of solder are suspended in a slightly sticky flux material. A drop situated at each solder point helps hold the surface mount device in place until it is heated. During the first temperature plateau (initial warm) the flux melts, and on the second plateau (flow) the beads of solder melt and flow into place. The board is then cooled and the solder solidifies. These temperature ranges are known as the solder's "Reflow Profile" and are critical to know for proper application. |
|
|
|
Other helpful tools include a magnifying device of some type and a small pair of non-magnetic tweezers, to help with parts placement. Larger projects might call for a vacuume operated parts pick up tool and the use of tubs of soldering paste with layout stencils
A quick search of the internet will reveal a number of excellent websites, tutorials, and YouTube videos covering this subject. Here are a couple:
|
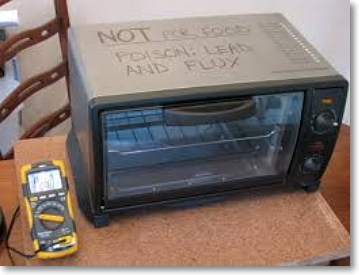
IMPORTANT NOTE: Once a toaster oven is used for SMD soldering IT CAN NEVER BE USED FOR FOOD AGAIN. The melting solder releases tiny amounds of lead and other harmful chemicals that over time can build up and if injested, cause illness or death. It is a good idea to clearly mark your repurposed oven as such, like they did at Freetronics. It is also highly recommended that the oven only be used in well ventillated areas.
|